Ever wanted to mark a product as “Sold Out” on your Shopify store? Maybe you ran out of stock, or you want to show customers that your items are in high demand.
Whatever the reason, marking products as Sold Out is simple and it’s also a great way to manage expectations, prevent overselling, and even create urgency for when items restock.
Let’s go through all the ways you can mark your products as sold out in Shopify manually, automatically, and through design.
What Does “Sold Out” Mean in Shopify?
When a product is sold out, it usually means its inventory quantity has reached zero.
Shopify automatically marks such products as “Out of Stock” or “Sold Out” on your storefront (depending on your theme wording).
However, this only happens if you’ve enabled inventory tracking for that product. If inventory tracking is turned off, Shopify can’t automatically update its availability — you’ll need to do it manually.
Method 1: Mark a Product as Sold Out Manually
If you want to manually mark a product as sold out, here’s the simplest way:
- Go to your Shopify Admin.
- Click on Products in the left sidebar.
- Select the product you want to mark as sold out.
- In the Inventory section, find the quantity field.
- Set the Available quantity to 0.
- Click Save.
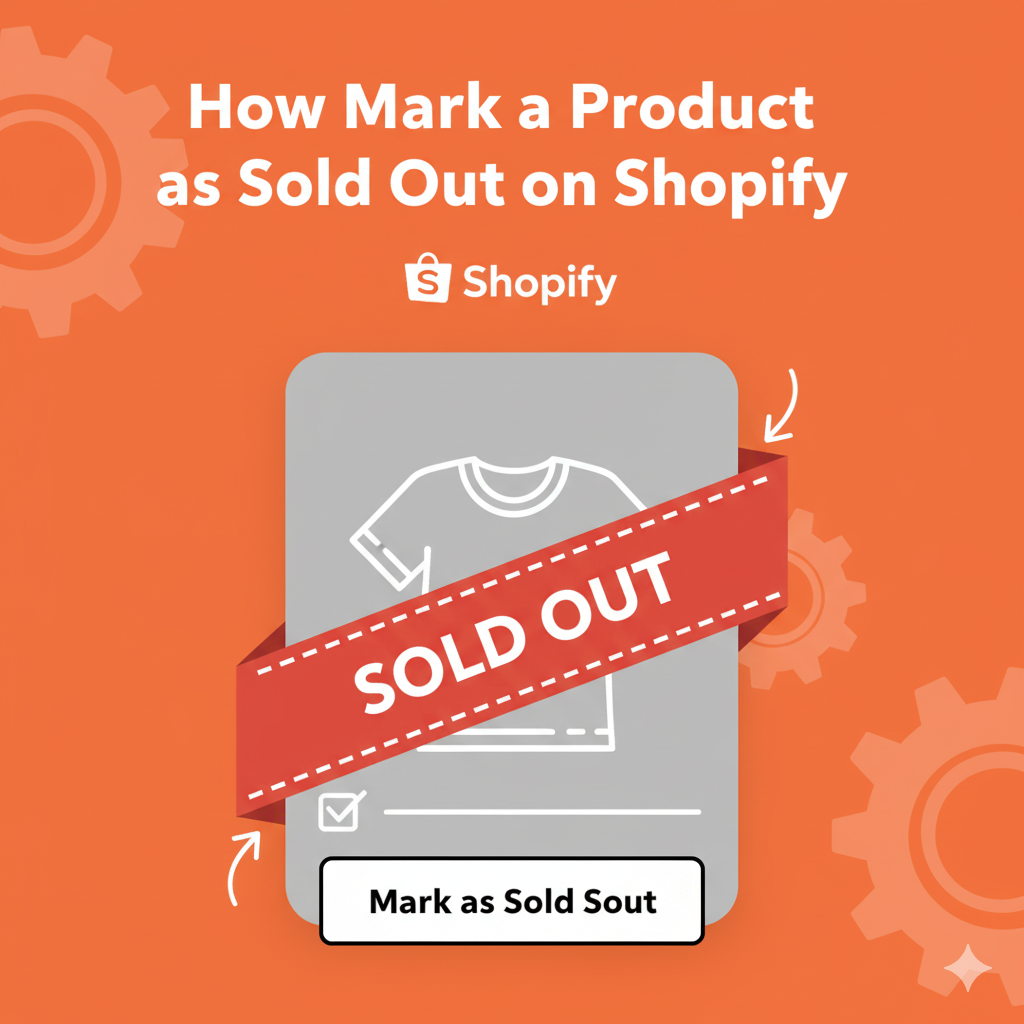
Once the quantity is zero, Shopify will automatically show a “Sold Out” label on your product page and remove the “Add to Cart” button.
Tip: If you don’t want people to see the sold-out product at all, you can uncheck “Available on Online Store” under Sales channels and apps to hide it temporarily.
Method 2: Mark Product as Sold Out Using Bulk Edit
If you have multiple products that are out of stock, you don’t need to edit them one by one.
Here’s how to do it quickly:
- In your Shopify admin, go to Products → All Products.
- Select multiple products using the checkboxes.
- Click Edit Products at the top.
- In the bulk editor view, click Columns → Add fields → Inventory quantity.
- Change the quantities to 0 for the products you want marked as sold out.
- Click Save.
Now, all those products will automatically show as Sold Out on your storefront.
Method 3: Automatically Mark Products as Sold Out (Using Inventory Tracking)
Shopify can automatically mark items as sold out when stock runs out — if you’ve enabled inventory tracking.
To turn it on:
- Go to Products → [Select a Product].
- Scroll to the Inventory section.
- Check the box “Track quantity”.
- Make sure “Continue selling when out of stock” is unchecked.
- Save your changes.
Now, when customers buy the last available item, Shopify will automatically mark it as Sold Out and prevent further purchases.
Method 4: Customize “Sold Out” Text or Button
Your Shopify theme usually displays “Sold Out” automatically when stock hits zero. But you can customize the message to make it more engaging — like “Out of Stock” or “Coming Back Soon”.
Here’s how to edit it:
- Go to Online Store → Themes.
- Click Customize on your current theme.
- In the editor, find a product page or collection page that shows a sold-out item.
- Click on the text element or product grid block showing “Sold Out.”
- Look for text customization or translation settings.
- Change it to your preferred message (like “Temporarily Unavailable”).
Pro Tip: Some themes don’t allow direct text changes. In that case, you can use the Edit code option and look for “product-card.liquid” or “main-product.liquid” templates to edit the label manually.
Method 5: Use an App to Automate Sold-Out Products
If you have a large inventory, apps can help you automatically hide, show, or tag sold-out products.
Here are a few Shopify apps that make it easy:
- Auto Hide Sold Out Products by Power Tools – Automatically hides out-of-stock items.
- Wipeout by StoreBuilder – Removes or unpublishes sold-out products.
- Back in Stock & Restock Alerts by Appikon – Lets customers subscribe to restock notifications.
These tools save time and make your store look cleaner by managing inventory visibility automatically.
Bonus: Keep “Sold Out” Products Visible for FOMO
Sometimes, showing “Sold Out” products actually helps.
It creates FOMO (Fear of Missing Out) — customers see your product’s popularity and are more likely to come back for restocks.
Here’s how to keep sold-out products visible:
- Make sure “Continue selling when out of stock” is unchecked.
- Keep them published on your store.
- Add a “Notify Me When Available” button (using a restock app).
This is great for limited drops, seasonal items, or exclusive collections.
Conclusion
Marking products as Sold Out in Shopify is an essential part of good inventory management. It not only helps you keep things organized but also builds trust with customers by showing accurate availability.
Whether you do it manually, through bulk editing, or with automation the process is simple and worth the few minutes it takes.
And remember: sometimes a “Sold Out” tag isn’t a problem it’s proof your products are in demand!
Key Takeaways
- Set product quantity to 0 to mark it as sold out.
- Use inventory tracking for automatic updates.
- Customize “Sold Out” text in your theme for a better look.
- Use apps to auto-hide or restock sold-out products easily.
FAQs
You can easily change or customize the “Sold Out” badge through your Shopify theme settings or code.
Here’s how:
Go to Online Store → Themes.
Click Customize on your active theme.
Open a Product page or Collection page where the “Sold Out” badge appears.
Look for a setting under Product grid, Badges, or Labels (the name depends on your theme).
Change the label text or color as needed.
If your theme doesn’t offer a visual option:
Click … → Edit code, and open product-card.liquid or main-product.liquid.
Search for the word “Sold Out” and replace it with your custom text, like “Unavailable” or “Coming Soon.”
Save changes and refresh your store.
Tip: You can also change badge styles (color, shape, font) using custom CSS.
To mark a product as Out of Stock, just set its inventory quantity to 0.
Steps:
Go to Products → All Products.
Click on the product you want to update.
Scroll to the Inventory section.
Set the Available quantity to 0.
Make sure “Track quantity” is enabled.
Click Save.
Once saved, Shopify automatically displays “Sold Out” or “Out of Stock” on your storefront (depending on your theme wording).
If your “Sold Out” badge isn’t showing, it’s usually due to one of these reasons:
Inventory tracking is turned off – Shopify doesn’t know when stock runs out.
→ Fix: Enable Track quantity in the product’s Inventory section.
The theme doesn’t display badges by default.
→ Fix: Check your theme settings or code for a “Badge” or “Label” option and turn it on.
Your product still has available variants.
→ Fix: Make sure all variants have quantity set to 0.
Custom code or apps are overriding it.
→ Fix: Disable any product badge apps temporarily to test if they’re interfering.
Once you correct these, your Sold Out badge should appear automatically when stock hits zero.
If you want to keep selling even when you’re out of stock, Shopify lets you continue sales by enabling one simple setting.
Here’s how:
Go to Products → [Select your product].
In the Inventory section, check “Continue selling when out of stock.”
Save your changes.
Now, even if inventory reaches zero, customers can still place orders — great for pre-orders, made-to-order products, or items you’ll restock soon.
Note: You’ll need to manually fulfill these orders once stock becomes available.
To manually mark a product as Sold Out:
Go to Shopify Admin → Products.
Select the product.
In the Inventory section, set the quantity to 0.
Make sure Track quantity is enabled and Continue selling when out of stock is unchecked.
Save changes.
Shopify will automatically show “Sold Out” on the product and remove the “Add to Cart” button.
If you want to show it as “Coming Soon” or “Unavailable,” you can customize the label in your theme settings or code.
You can replace the “Sold Out” text with “Coming Soon” by editing your theme language or code.
Here’s the quick way:
Go to Online Store → Themes → Actions → Edit default theme content (or “Edit language” in older themes).
Use the search bar to find “Sold Out.”
Replace it with Coming Soon (or any message you prefer).
Click Save.
Your store will now display “Coming Soon” instead of “Sold Out” wherever the original label appeared.
Alternative method: Edit your theme code (product-card.liquid) and manually replace the “Sold Out” text if your theme doesn’t include a language editor option.


