Your store name is one of the first things people notice about your brand. But what if you want to change it later maybe you rebranded, found a better name, or just want something that feels more “you”?
Good news: changing your Shopify store name is totally possible and quite simple. In this guide, I’ll walk you through how to change your Shopify store name step-by-step, plus cover what happens after you change it and how to make sure your new name appears everywhere correctly.
Why You Might Want to Change Your Shopify Store Name
There are many reasons store owners decide to update their store name:
- You’ve rebranded your business.
- You picked a temporary name when starting out and now want something more professional.
- You want your name to match your domain.
- You’re expanding products or niches and need a broader name.
Whatever the reason, Shopify lets you change your store name anytime from your admin settings.
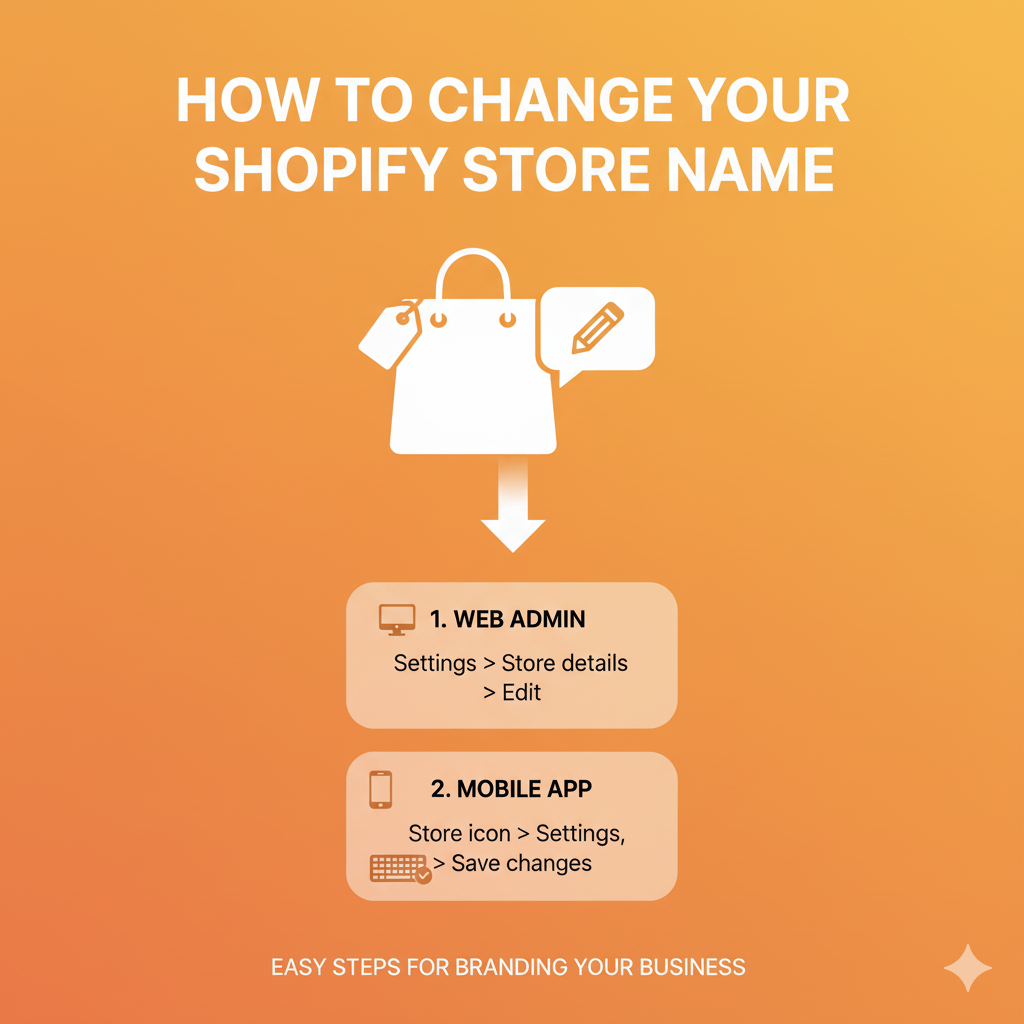
Step 1: Log In to Your Shopify Admin Dashboard
Go to Shopify Admin and log into your store account.
Once you’re inside, you’ll see your Shopify dashboard, where you can manage everything products, orders, settings, and of course, your store details.
Step 2: Go to “Settings”
In the bottom-left corner of your dashboard, click “Settings.”
This opens a new page with various options like Store details, Billing, Plan, Domains, and more.
From here, you’ll be editing your store name inside the Store details section.
Step 3: Click on “Store Details”
Once you’re inside Settings, click “Store details.”
This section contains your:
- Store name
- Store contact information
- Store address
- Industry type
You’ll see your current Store name at the top of the page.
Step 4: Edit Your Store Name
Next to your current store name, click “Edit.”
Type in your new store name — make sure it matches your brand or domain name if possible.
For example:
If your current name is Luna Accessories and you’ve rebranded to Luna Studio, simply update it there.
When you’re done, click “Save.”
And that’s it — your Shopify store name is now officially changed!
Step 5: Verify the Change
After saving, your new store name will appear:
- On your Shopify admin dashboard
- In email notifications (like order confirmations)
- In some customer-facing areas (like your checkout pages or receipts)
Tip: Your store name change won’t affect your domain name (the web address). That’s a separate setting we’ll cover below.
Important: Changing Store Name vs Domain Name
A lot of people mix these two up, so let’s clear that confusion.
- Store name: This is the name that appears in your Shopify admin, browser tab, and emails.
- Domain name: This is your actual website address (like yourstore.myshopify.com or yourstore.com).
When you change your store name, your domain name stays the same.
If you also want to change your domain, you can do that under Settings → Domains → Add domain.
Shopify lets you connect a custom domain like www.yournewbrand.com to match your new store name.
Step 6: Update Your Store Branding Everywhere
After changing your Shopify store name, don’t forget to update it everywhere else too.
Here’s a quick checklist:
- Store logo (upload your new logo in “Online Store → Themes → Customize”)
- Store favicon (the small browser icon)
- Social media pages
- Email templates and marketing materials
- Payment provider details
- Shipping labels and packaging
Consistency helps your new name look professional and avoids customer confusion.
Step 7: (Optional) Change Your myShopify URL
Your Shopify store also has a default URL — something like yourstorename.myshopify.com.
Unfortunately, you can’t change this URL once it’s created.
If you really need a new myshopify.com address, you’ll have to create a new Shopify store and migrate your data.
However, there’s a simple fix: use a custom domain name (like yourbrand.com) and connect it to your store. That way, no one will ever see your myshopify.com address again.
Step 8: Double-Check SEO Settings
If your old store name was mentioned in your meta titles or descriptions, make sure to update those too.
To do this:
- Go to Online Store → Preferences.
- Update your homepage title and meta description to include your new store name.
This helps search engines recognize your updated brand identity faster and keeps your SEO consistent.
What Happens After You Change Your Store Name
- Your Shopify admin dashboard and checkout pages will immediately reflect your new store name.
- Your customers will see the new name in emails and invoices.
- Your store URL (like yourstore.myshopify.com) stays the same unless you connect a new domain.
- Your SEO rankings are not affected, as long as your domain stays the same and you update your site metadata.
Quick Recap
| Step | Action |
|---|---|
| 1 | Log in to Shopify Admin |
| 2 | Go to Settings → Store details |
| 3 | Click Edit beside Store Name |
| 4 | Enter new name and click Save |
| 5 | Verify your new name appears |
| 6 | Update your branding and SEO |
| 7 | (Optional) Connect a new domain |
Tips for Choosing a New Store Name
If you’re still deciding on your new store name, here are a few quick tips:
- Keep it short, clear, and easy to spell.
- Make sure the domain name is available.
- Avoid names that sound too similar to competitors.
- Choose something that reflects your brand or niche.
You can even use Shopify’s free business name generator to get ideas.
Wrap Up
Changing your Shopify store name is quick, simple, and a great way to refresh your brand.
It only takes a few minutes inside your Shopify settings, and you’ll have a new identity ready to go.
Just remember to update your logo, domain, and SEO details to keep everything consistent.
Whether you’re rebranding or just tweaking your name, this small change can make a big difference in how your store looks and feels.
FAQs
You can change your Shopify store name as many times as you want — there’s no limit. Shopify doesn’t restrict how often you edit your store name inside the admin panel.
However, frequent name changes can confuse customers and hurt your brand consistency, so it’s best to pick a name you’ll stick with for a while.
To change your store owner’s name (the primary account holder), follow these steps:
Go to your Shopify Admin Dashboard.
Click Settings → Users and permissions.
Find your store owner account and click Transfer ownership or Edit details.
Enter the new owner’s name and email address, then save.
If you’re only changing your display name (not ownership), you can simply edit your staff account name instead.
Keep in mind that only the store owner can transfer ownership rights to another person.
Yes, absolutely! Shopify gives you full freedom to rebrand your store whenever you like. You can:
Change your store name
Connect a new domain name
Upload a new logo and theme
Update your colors, fonts, and layout
Rewrite your product descriptions and SEO details
Rebranding is common as stores grow or shift niches. Just make sure your new name, visuals, and messaging all align with your updated brand identity.
Your “store heading” usually refers to the name or title that appears at the top of your website — often in your theme’s header section.
Here’s how to change it:
Go to Online Store → Themes.
Click Customize beside your current theme.
In the left sidebar, click Header (or sometimes “Logo”).
Update your store name or logo image.
Click Save when done.
This updates what customers see on your storefront, making sure your new brand name appears front and center.