If you’ve just set up your Shopify store, the next big step is adding your products. Whether you’re selling physical items, digital downloads, or services, knowing how to add products correctly can make your store look professional and help customers find what they need easily.
In this guide, I’ll walk you through how to add products to Shopify, step-by-step from entering basic details to setting prices, inventory, and variants.
Why Adding Products Properly Matters
Adding products isn’t just about uploading photos and writing a description. The way you organize and set up your products affects:
- How easily shoppers can find them
- How well your store performs on Google
- How smooth your checkout process feels
So, taking a few extra minutes to set up each product properly is totally worth it.
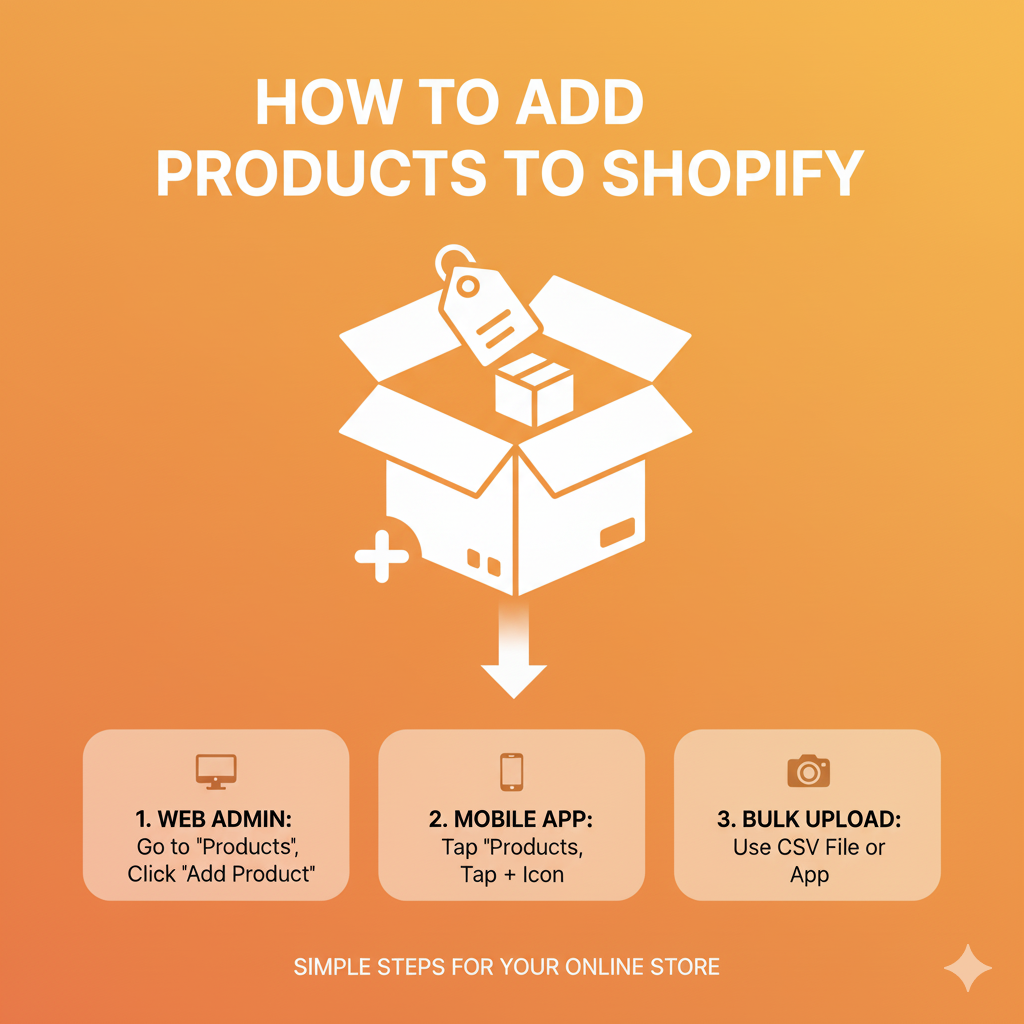
Step 1: Log In to Your Shopify Admin
Start by logging into your Shopify Admin Dashboard.
Once you’re in, look at the left-hand sidebar and click “Products” → “Add product.”
This is where you’ll enter all your product information — think of it as your product’s digital profile.
Step 2: Add Product Details
Here’s what you need to fill out:
- Title: Keep it simple and descriptive. Example: “Handmade Cotton Tote Bag”
- Description: Tell your customers what makes your product special. Mention key features, size, material, or benefits.
Example: This eco-friendly cotton tote bag is perfect for daily use. It’s lightweight, durable, and washable — your perfect everyday companion. - Media: Upload high-quality product photos (and videos if you have them). Multiple angles and lifestyle images help customers trust your product.
Tip: Use square photos (1024×1024 px or higher) for best results.
Step 3: Set Your Price
Under the Pricing section:
- Enter your Price (the amount customers pay).
- Optionally, add a Compare at price (the original price before discount).
- If needed, include Cost per item — helpful for tracking profit margins.
You can also check “Charge tax on this product” if it applies to your region.
Step 4: Manage Inventory
The Inventory section lets you track how much stock you have.
- SKU (Stock Keeping Unit): Optional, but useful for organization.
- Barcode: Helpful if you sell in physical stores.
- Track quantity: Enable this to automatically reduce stock when an order is placed.
- Continue selling when out of stock: Enable this only if you accept backorders or pre-orders.
Step 5: Set Shipping Details
If your product is physical, check “This is a physical product.”
Then fill in:
- Weight: Important for calculating shipping costs.
- Customs information: Needed if you ship internationally.
If you’re selling a digital product or service, leave this unchecked — no shipping needed.
Step 6: Add Variants (If Applicable)
If your product comes in different sizes, colors, or styles, click “Add variants.”
For example:
- Size: Small, Medium, Large
- Color: Black, Blue, Red
Shopify will automatically generate separate listings for each variant, so you can set unique prices or images for each one.
Step 7: Organize Your Product
Organization makes your store easy to browse.
You’ll find options to:
- Product type: e.g., “T-shirt,” “Mug,” “Sneakers”
- Vendor: Your brand name
- Collections: Group products under categories like “New Arrivals” or “Sale.”
- Tags: Use tags like cotton, handmade, eco-friendly to help with search and filtering.
Tip: Tags also help improve SEO and make product searches faster inside Shopify.
Step 8: Optimize for SEO
Scroll down to Search engine listing preview and click “Edit.”
Here, you can customize your:
- Page title (around 60 characters)
- Meta description (about 150–160 characters)
- URL handle
Example:
Title: Handmade Cotton Tote Bag | Eco-Friendly & Durable
Description: Shop this durable, eco-friendly cotton tote bag — perfect for daily use. Lightweight, washable, and stylish.
URL: yourstore.com/products/handmade-cotton-tote-bag
This helps your product show up better on Google.
Step 9: Save and Publish
Once you’ve filled out everything, hit the Save button in the top right corner.
You can choose to:
- Keep it as a draft (if you’re still working on it)
- Make it active (so customers can see and buy it right away)
And that’s it — your product is now live on your Shopify store!
Bonus: How to Add Products in Bulk
If you have many products to upload, Shopify lets you import them via CSV file.
Just go to Products → Import, upload your CSV, and Shopify will create multiple listings automatically.
This is super useful if you’re migrating from another platform or adding large catalogs.
Common Mistakes to Avoid
- Uploading low-quality photos
- Forgetting to add SEO info
- Not assigning collections or tags
- Skipping inventory tracking, which can cause overselling
Fixing these early helps your store look more professional and builds customer trust.
Wrapping Up
Adding products to Shopify is simple once you know the process. Focus on clear titles, detailed descriptions, and high-quality images they make the biggest difference in conversions.
And don’t forget to optimize your listings for SEO to bring in organic traffic over time.
With every new product you add, you’ll get faster and better at making your store shine.