If you’re using Shopify and recently started working with a 3rd party fulfillment service (like a warehouse, dropshipping partner, or logistics company), you’ll need to change your inventory location to match where your products are actually stored.
Doing this ensures that Shopify tracks stock accurately, sends orders to the right place, and keeps your fulfillment workflow smooth.
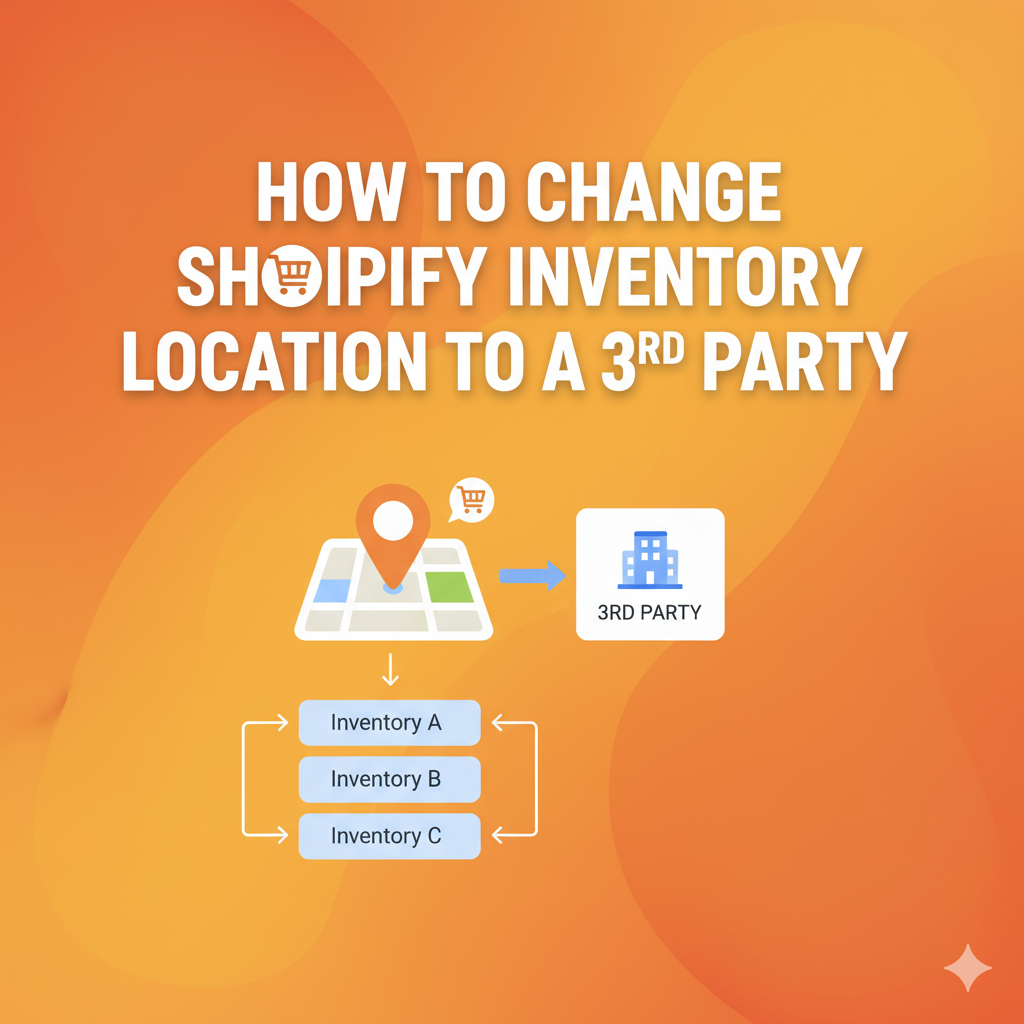
In this guide, I’ll walk you through exactly how to change your Shopify inventory location to a 3rd party — step by step, with some extra tips to avoid common mistakes.
Why Changing Inventory Location Matters
When you sell on Shopify, each product is assigned to a location — this tells Shopify where your inventory is stored and which location will fulfill orders.
If you partner with a 3rd party logistics provider (3PL), your inventory won’t be at your office or home anymore. It’ll be in their warehouse. So you must update Shopify to reflect that change, or else:
- Orders might route to the wrong address
- Stock counts may not update correctly
- You’ll face delays or fulfillment errors
Basically, it’s crucial to let Shopify know who’s handling your products and where they’re located.
Step-by-Step: How to Change Shopify Inventory Location to a 3rd Party
Here’s how to set up or switch your Shopify inventory location to a third-party provider:
Step 1: Add Your 3rd Party Location
- Log in to your Shopify admin panel.
- Go to Settings → Locations.
- Click Add location.
- Enter your 3rd party provider’s name (for example, “ShipBob Warehouse” or “Amazon FBA”).
- Add the address of the fulfillment center.
- Click Save.
That’s it — you’ve successfully created a new location for your external warehouse.
Step 2: Assign Inventory to That Location
Now that the new location exists, you’ll need to move your products there.
Here’s how:
- Go to Products in your Shopify admin.
- Select the product you want to update.
- Scroll down to the Inventory section.
- You’ll see a list of locations — check the box next to your new 3rd party location.
- Enter the stock quantity available at that location.
- Click Save.
Do this for all the products your 3rd party fulfills.
Tip: If you have a large catalog, you can update locations in bulk using the Shopify Bulk Editor or import inventory quantities via CSV.
Step 3: Adjust Fulfillment Priority
Shopify decides where to fulfill orders based on your fulfillment priority settings.
To make sure your 3rd party handles orders first:
- Go back to Settings → Locations.
- Click View fulfillment priority.
- Drag your 3rd party location to the top of the list.
- Click Save.
Now Shopify knows to send orders to your 3rd party fulfillment center before any other location.
Step 4: Connect the 3rd Party Fulfillment App (If Applicable)
Most 3rd party logistics providers have their own Shopify app to automate fulfillment.
For example:
- ShipBob, ShipHero, and Deliverr have official Shopify integrations.
- You can find them in the Shopify App Store.
Install the app and follow the setup instructions — usually, it will automatically create or link a location and sync inventory in real-time.
If you’re working with a custom 3PL, they might give you API credentials or access tokens. Your 3PL can guide you on integration steps.
Step 5: Test Everything
Before going live, always test your setup.
- Place a test order to ensure it routes to the 3rd party location.
- Verify that inventory updates correctly after fulfillment.
- Double-check shipping rates and order tracking.
If something doesn’t look right, revisit your fulfillment priorities or check your 3rd party app’s settings.
Common Mistakes to Avoid
- Not deactivating old locations: If you’ve stopped storing products at your old address, remove that location to avoid confusion.
- Forgetting to update quantities: Shopify won’t automatically move stock when you change locations — you must manually adjust it or use a CSV import.
- Skipping app connection: Without connecting your 3rd party app, order updates might not sync automatically.
- Mixing manual and 3PL fulfillment: Keep each product tied to one fulfillment source for consistency.
Bonus Tip: Automate with Shopify Flow or Third-Party Integrations
If you’re on Shopify Plus, you can use Shopify Flow to automate fulfillment routing for example, automatically sending certain orders to specific 3rd party locations.
Even on regular plans, apps like Order Automator or Multi-Location Sync can help manage stock and order routing automatically.
Conclusion
Changing your Shopify inventory location to a 3rd party might sound technical, but it’s actually pretty straightforward once you know the steps.
All you need to do is:
- Add the new 3rd party location,
- Assign your products,
- Adjust your fulfillment priority, and
- Test everything.
Once set up, your orders will flow smoothly to your 3PL — freeing up your time to focus on growth, not logistics.
Key Takeaways
- Always create a new location for your 3rd party warehouse in Shopify.
- Assign inventory and fulfillment priority to that location.
- Connect any 3rd party apps for real-time syncing.
- Test the entire flow before going live.
FAQs
To change your inventory location in Shopify:
Go to your Shopify Admin → Settings → Locations.
Click Add location if you’re adding a new warehouse, 3PL, or store.
Then, go to each product under Products → Inventory and assign stock to that new location.
Adjust your fulfillment priority so orders are fulfilled from the right place first.
That’s it — your Shopify store will now track and fulfill inventory from the new location.
If you’ve shifted your stock physically (say, from your office to a fulfillment center), you’ll need to update this in Shopify:
In Shopify Admin, go to Products → Inventory.
Select the product you want to move.
Decrease the quantity from your old location.
Increase the same quantity at the new location.
Shopify doesn’t “transfer” stock automatically, so you need to adjust both locations manually or import inventory updates through a CSV file if you have many products.
To change which location fulfills your orders:
Go to Settings → Locations → View fulfillment priority.
Drag and drop your preferred location (like your 3rd party warehouse) to the top of the list.
Click Save.
This tells Shopify which location should handle new orders first. You can also assign fulfillment locations at the product level if different products are stored in different places.
Yes, you can sell third-party products on Shopify! Many store owners do this through:
Dropshipping apps (like DSers, Spocket, or Zendrop).
Print-on-demand partners (like Printful or Gelato).
Wholesale suppliers or 3PLs.
Just make sure you follow Shopify’s policies and have clear supplier agreements. You’re responsible for product quality, shipping times, and customer service — even if the product comes from a third party.
Inventory locations are physical places where you store or fulfill your products. These could include:
Your home or office
Retail stores or pop-ups
Warehouses
3rd party fulfillment centers
Dropshipping partners
Shopify uses locations to track stock accurately and route orders correctly. You can have multiple active locations and manage them from your Shopify admin.
Every location you create in Shopify has a unique Location ID — a number Shopify uses internally to identify each location.
You might need this ID if you’re:
Using Shopify APIs,
Setting up integrations with fulfillment apps, or
Managing inventory through custom scripts.
To find your inventory location ID, you can:
Go to Settings → Locations, click a location, and check the URL in your browser.
The number at the end of the URL (after /locations/) is your location ID.
Example:https://yourstore.myshopify.com/admin/settings/locations/123456789 → here, 123456789 is your location ID.


Pingback: How to Mark a Product as Sold Out on Shopify - Pratsify